
The average runner has dealt with their fair share of hip pain. Research shows that hip pain is one of the most common complaints amongst runners as if it’s just a natural part of running. However, no one has to live with aching or tight hips on the run. The important step is getting to the root of the issue.
The Root Cause of Hip Pain and Tight Hips
One of the most common pieces of advice for runners with hip pain is to stretch the hip flexors. This exercise is something that every runner should regularly activate — every time you run. Some background: Hip flexors reference the group of three muscles located in the front area of the hip — known as the psoas major and psoas minor (or the psoas), in addition to the iliacus. Collectively, the muscle group forms what’s known as the iliopsoas — our body’s most powerful hip flexor.
People tend to think it’s the psoas when they have hip pain or tightness. However, if they’re feeling a nagging hip pain or tightness, they may be missing the root cause. The root cause may be an overlooked muscle in the iliopsoas group that isn’t used during hip flexor stretches — the iliacus.
Even physical therapists discuss the iliopsoas as if the psoas and iliacus are the same muscle. However, the iliacus is a separate muscle with a different function. It even operates with different nerves in the body. Both should be thought of separately since both are hip flexors, but that’s all they have in common.
The psoas is a long muscle crossing three joints. It ranges from the spine all the way through the body across the SI joint in the pelvis and then lower into the hip. It’s responsible for creating stability and movement from the spine through the pelvis, connecting the upper and lower body. However, the iliacus is a short muscle that attaches to the pelvis and then attaches to the femur. It’s very close to the joint and not designed to give movement like the psoas, but it is designed to stabilize.
The Iliacus Muscles’ Importance
It’s incredibly important for runners to consider because its stabilizing function is crucial to every stride, especially when stabilizing the core and the pelvis. Another important factor that leads to a tight iliacus is sitting in excess. It’s important to maintain the iliacus for those reasons, but also because it often doesn’t produce symptoms that show up directly where the iliacus is located. For runners, athletes or anyone who works from home and wants to maintain good exercise, here are some tips for finding and treating this sometimes elusive muscle.
Finding and Treating the Iliacus Muscle
Thankfully, the iliacus is easy to find when you know where to look. Put your hands on the hips and let the fingertips go toward the front of the pelvis; you’ll find two bones that stick out in the front of your pelvis called the ASIS (anterior superior iliac spine). Inside that bone is a soft spot; when slightly curving the hand around the bone’s corner, the iliacus sits. Angular pressure is needed to get in there.
Managing the iliacus is a three-step exercise that involves relaxing the muscle itself, then realizing the back area of the hip. Next, you must activate and strengthen the hip flexors, adjacent core, and hip stabilizers. It sounds complicated, but it’s fortunately fairly easy.
These three moves below will help you manage the iliacus. Repeat these every other day until function improves and then maintain it by performing it once a week or biweekly.
Step 1: Release
First, release the iliacus. There are two options in terms of gym equipment to use. The Hip Hook or 4-inch massage ball will work. When using the ball, first lie on the stomach and place it under the pelvis where the iliacus is located. When lying on top of the ball, use the body weight to put steady pressure on the area of soreness for at least 1 minute while taking deep breaths.
When it comes to the Hip Hook, lay on the side. Align the tip of the Hip Hook with the iliacus and roll over onto it until the equipment’s platform is flat on the floor and you’re lying on your stomach. Minor adjustments may be necessary to line up the tip of the Hip HOok with the tense area in the iliacus. Next, relax and settle in, taking deep breaths. Press down on the handle. When pressure is applied for at least 30 seconds, apply angular pressure to access and then release the iliacus. Hold this position for 60 more seconds or until the muscle releases. Whenever you get started on these exercises, you may have to identify where the tightness moves to, as it may differ daily. To gain long-term benefits, you need to identify and spot the soreness and stay at the targeted spot.
Step 2: Release the Back of the Hip
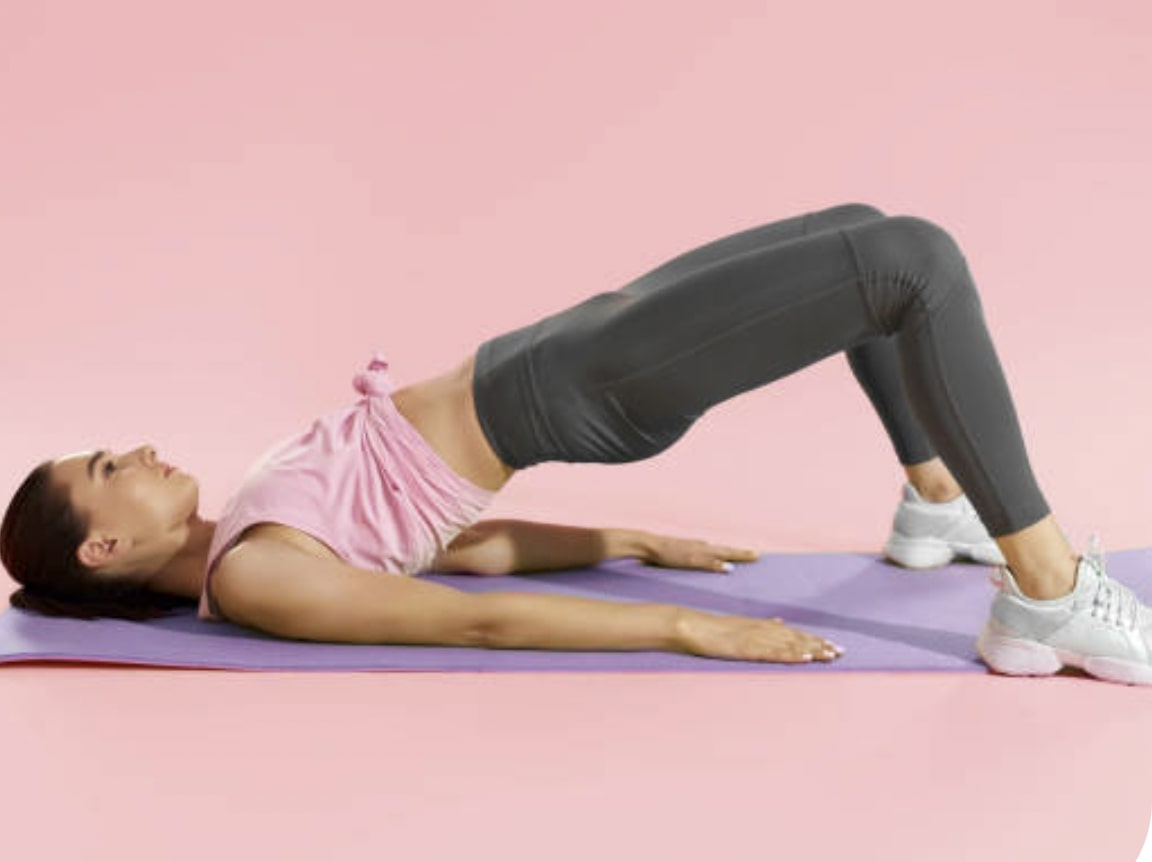
Start by lying flat on the floor with both knees bent and feet flat on the floor. Lift the hips slightly, place the ball under the muscle tissue near the tailbone, and lie on the ball. Seek out the sore spot — and there is likely more than one. Repeat the same method you used for the front of the hip when you’ve found the tender areas. Use your body weight, and apply pressure for at least a minute to each sore spot or until the muscle releases.
Step 3: Strengthening the Iliacus
After the iliacus is released, focus on gently strengthening the muscles in front of the hip. When we have chronically tight muscles, our iliacus or psoas muscles are right and we’re not doing anything to properly strengthen or train them to work with the glutes or core, this will keep them tight.
To help strengthen hip flexors, turn to resisted marches instead. First, place a mini band with a light to medium resistance around the balls of the feet. Next, stand tall with a straight posture. The feet should be hip-width apart. Continue to slowly lift one knee at a time in a marching motion.
Meanwhile, keep the foot flexed, the core engaged, and the spine and hips neutral. Avoid leaning to each side as you raise the leg. Continue to engage your core and feel the hip musculature stabilize your body. Repeat this movement five times per side.
The band provides tactile cues and it’s imperative to keep your spine straight and neutral so that you’re not arching the back when marching. Next, lift and flex the hip up. It’s very challenging. People often think marching is really easy, but if you’re working and stabilizing the correct muscles, then you feel the exercise working.
When releasing the iliacus, know that it takes time. The aches might get worse initially, but since you’re releasing the iliacus, it should feel better after about 30 seconds. If it doesn’t start to feel better, then you’re not in a spot that’s ready. However, consistency is key to making sure your iliacus stays healthy!